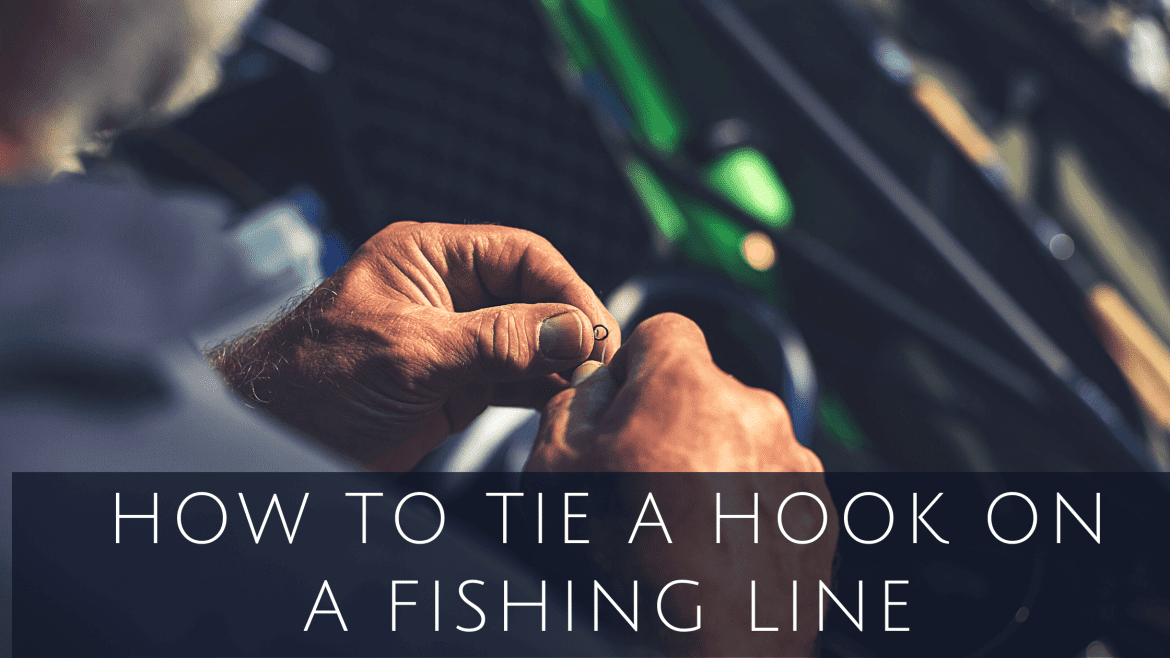
How to Tie a Hook on a Fishing Line
One of the fundamental skills that you need to know if you’re learning to fish is how to tie a hook onto a fishing line. It’s an essential skill that you’re sure to be using a lot, and you can’t rely on other people to do it for you all the time. Knowing several fishing knots will ensure you can securely tie a hook onto a line, and you won’t be worrying about your hook coming loose or falling off. Learning just one knot to start with is certainly helpful, but having a few different fishing knots in your knowledge bank is a lot more useful if you want to be an expert angler.
Instead of relying on being able to tie just a simple overhand knot, probably the most basic knot there is, there are some other knots that you should know for fishing. Here are some of the most important knots you should learn.
Improved Clinch Knot (Salmon Knot)
This knot is essential for tying a hook or lure to your fishing line, and it’s pretty simple to do. Start by threading the line through the eye of the hook, then wrap the loose end around the line about 5 times. Now thread your line through the loop closest to the eye and then through the loop you’ve just made. Finally, pull both ends of the line to tighten it all up, and trim any excess line if you need to.
Palomar Knot

This slightly modified overhand knot is easy to master and gives you a secure knot in your line. Start by doubling up your line to create a loop, then thread the loop through the eye of your hook. Tie a loose overhand knot, then pass the end of your loop over the end of the hook. Now, simply pull on the line to tighten it.
Turtle Knot
When you have a small hook, the turtle knot is a good choice. Just thread your line through the eye of your hook, tie a loose double overhand knot and pass the resulting loop over your hook. Tighten it up to close the loop over the eye.
Snelling a Hook
When you want to attach monofilament to a hook, this knot will help you to do it. First, pass the line through the eye of the hook twice to form a loop that hangs alongside the hook. Wrap the loop around the hook 5 to 10 times to create tight coils, hold the coils in place with your finger, then pull the line up so that the loop sits snugly underneath the coils.
Knotless Knot
This is a knot that isn’t really a knot, hence its name. The knotless knot is popular for carp fishing. It starts with a loop tied at the end of your line. Thread the other end of your line through the hook and adjust where you want the loop to go (you can put bait on your line before doing this). Now double back on your line and wrap it around the shank of your hook in neat coils, around 7 to 8 times. Next, thread your line through the eye of the hook, hold your loop in place and pull the other end to tighten. You’ll notice that this is similar to the snelling knot, but it allows you to have a hair at the end.
Which Knot Should You Use?

Being able to tie several fishing knots is useful, but it also helps to know when you can and should use each one. Different knots can be useful for different purposes, so knowing your knots well can help you to be a better angler. The improved clinch knot is a basic go-to for a lot of people, but there are definitely times when you will want to use other options.
If you want a strong knot, the palomar knot is probably your best bet. It’s an easy knot and you can use it for a variety of purposes. It’s a great choice when you want a strong knot because it doesn’t involve a lot of twisting and bending, which can leave parts of your line vulnerable. If you want to avoid breakages, use a palomar knot, but make sure you tighten it fully to make it effective. The knot should be on the eye of the hook, and not around the shank.
Learn these knots to tie your hook onto your fishing line and you can become a better angler with a greater skill set.


